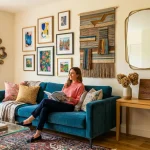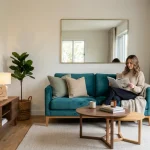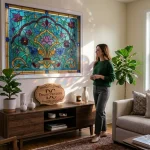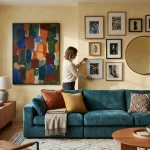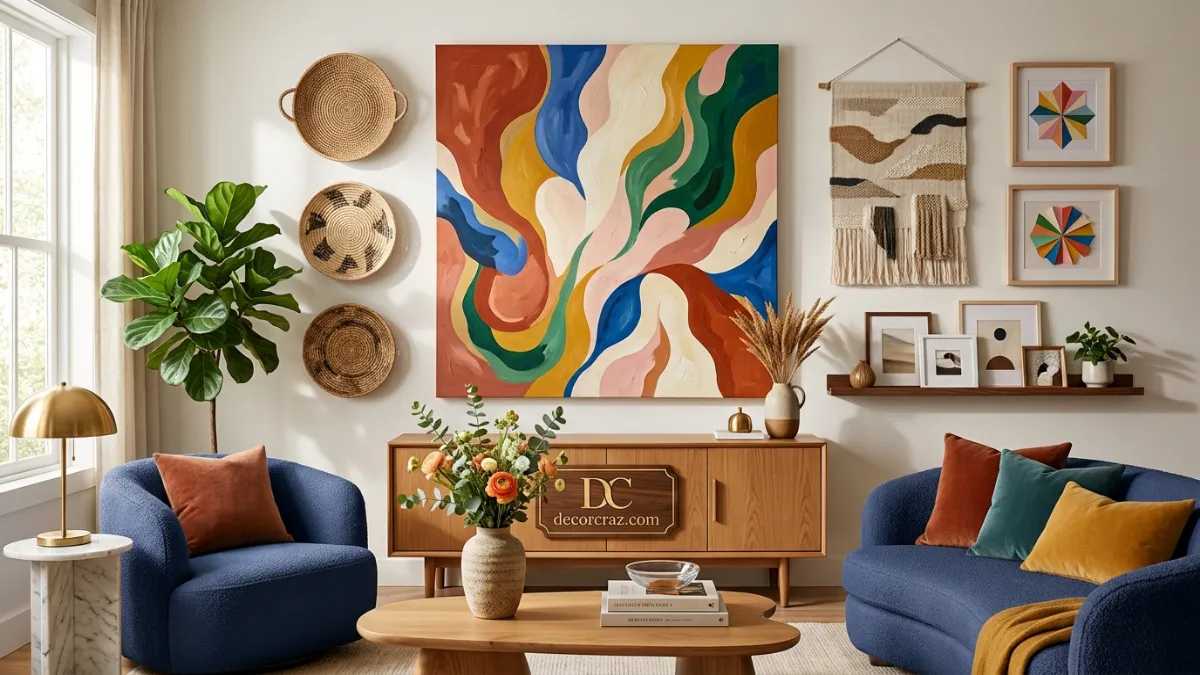
A blank wall can make a room feel unfinished, even when the furniture and accessories are already in place. You do not need expensive artwork or a major renovation to change that. A handmade canvas, a fabric wall hanging, a carefully arranged photo display, or a simple geometric design can give your room more personality.
The best DIY wall decor ideas start with the wall itself. Think about how much space you have, if you can make permanent changes, and what you want the decoration to accomplish.
A large empty wall may need one substantial focal point, while a narrow wall might look better with a small vertical arrangement.
For an affordable, low commitment update, start with framed handmade art, fabric hangings, or a thoughtfully planned gallery wall. Choose painted designs or more permanent installations only when your wall finish, budget, and living arrangements make them practical.
Create Your Own Abstract Wall Art

Abstract art is a useful starting point if you want something original without needing advanced drawing skills. Simple shapes, curved lines, and blocks of color can create an interesting composition.
How to make it:
- Choose a blank canvas or thick art paper.
- Select two or three colors that complement your room.
- Sketch a few large shapes before painting.
- Leave some open space so the design does not feel crowded.
- Allow the artwork to dry before framing or displaying it.
Why it works: Repeating a color already found in a rug, cushion, or piece of furniture helps connect the art to the rest of the room.
Best for: Living rooms, bedrooms, home offices, and study areas.
Budget alternative: Reuse sturdy cardboard as a backing for painted paper. Use an existing frame instead of purchasing a new one.
Design a Personal Photo Gallery Wall

A photo gallery turns personal memories into wall decor. It can feature travel photographs, family pictures, illustrations, postcards, or a combination of these items.
Before hanging anything, arrange the frames on the floor. Try a symmetrical grid for a neat appearance or an asymmetrical arrangement for a more relaxed look.
Make the display feel intentional:
- Choose a consistent frame color or repeat a limited color palette.
- Mix frame sizes while keeping the overall arrangement balanced.
- Leave reasonably consistent gaps between neighboring frames.
- Align the arrangement with the furniture below it rather than placing it randomly on the wall.
For a simple starting point, use three to five pieces and expand later if the wall needs more coverage.
Best for: Stairway walls, hallways, bedrooms, and spaces above a sofa.
Trade off: Many small frames can look scattered on a large wall. If you want a stronger focal point, use fewer, larger pieces or group the frames into a clearly defined shape.
Make a Fabric Wall Hanging
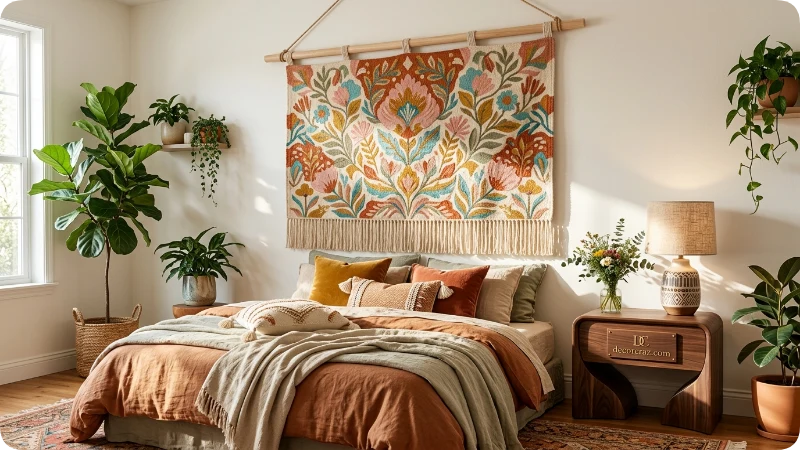
Fabric adds softness to a room dominated by hard surfaces such as painted walls, glass, and wood. It also offers an easy way to introduce pattern without covering an entire wall.
Choose cotton, linen, a lightweight woven textile, or a piece of fabric with a print you like. Fold the top edge over a dowel or use a suitable fabric hanger, then finish the lower edge with a clean hem or fringe.
For a simple design, use a solid fabric with an interesting texture. For a more decorative result, choose a botanical print, a geometric pattern, or a piece of fabric with a meaningful design.
Where it works: Bedrooms, reading corners, dorm rooms, and small seating areas.
What to consider: Fabric can collect dust and may fade in strong sunlight. Use a washable material when possible, and avoid placing it near heat sources or open flames.
If you rent, a lightweight hanging can be easier to move than a painted design. Check your lease and choose a mounting method that suits your wall.
Decorate With a DIY Paper or Cardboard Wall Display
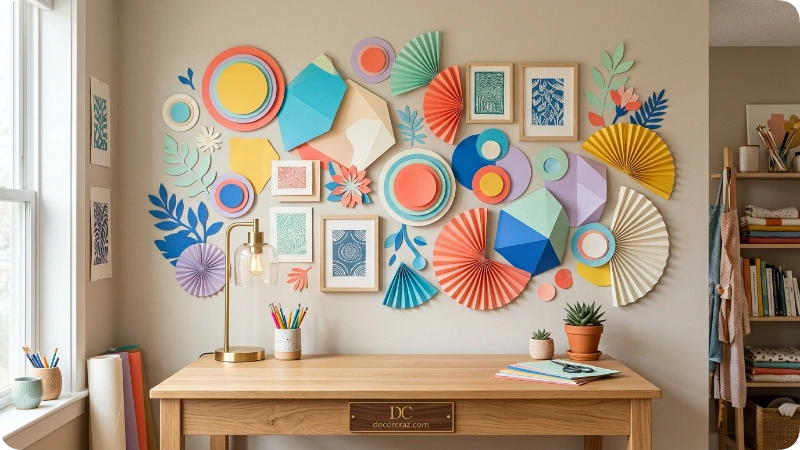
Paper is one of the easiest materials to experiment with because you can cut, fold, layer, and rearrange it before committing to a design.
Try making layered botanical shapes, overlapping circles, paper fans, or a set of minimalist geometric prints. Place the finished pieces inside inexpensive frames or attach lightweight paper designs to a backing board.
How to make it look polished:
- Use paper in complementary colors rather than a collection of unrelated shades.
- Combine large shapes with smaller details to create depth.
- Leave a border around the artwork if you are framing it.
- Repeat one shape or color across several pieces to connect the display.
This project works especially well in a home office, craft room, or bedroom. It is also a good option for anyone who wants to change their wall decor frequently.
Budget tip: Use clean cardboard packaging or leftover wrapping paper for prototypes before purchasing specialty craft paper.
Create a Decorative Woven Basket Display

Woven baskets add visible texture that flat prints cannot provide. Their rounded shapes also create contrast against the straight lines of doors, furniture, and rectangular frames.
Look for shallow baskets or decorative trays in different sizes. Arrange them around one larger central piece, or create a loose cluster that follows the shape of the wall.
How to arrange them: Place the largest basket first, then position smaller ones around it. Alternate lighter and darker weaves so the arrangement has variety without looking random.
This idea suits bohemian, natural, rustic, and eclectic interiors. Secondhand baskets can keep the project inexpensive, especially if you already have a few at home.
Important consideration: Check the weight and attachment point of every basket before hanging it. Lightweight decorative pieces are easier to mount securely. For a rental, test any removable mounting method on an inconspicuous area and follow its weight and removal instructions.
Create a Washi Tape Geometric Wall

Washi tape offers a temporary way to create graphic lines without painting an entire wall. You can use it to form triangles, abstract outlines, simple grids, or picture frame shapes around prints.
Start by drawing the design on paper. Measure the main lines, then apply the tape gradually, smoothing it as you go.
Why it works: Thin lines add visual structure without taking up physical space. This makes the method useful in small bedrooms, dorm rooms, and work areas where bulky decorations may be impractical.
Choose a design that suits the scale of the wall. A few large shapes usually read more clearly from across a room than dozens of tiny ones.
Rental note: Washi tape is not guaranteed to be harmless to every paint finish. Test a small area first, especially on delicate, freshly painted, or peeling surfaces. If the tape lifts paint, choose freestanding or leaning decor instead.
Frame a Meaningful Textile or Scarf

A scarf, embroidered cloth, or attractive fabric remnant can become artwork when displayed thoughtfully. This approach is particularly useful if you already own a textile with colors or patterns you love.
Choose a piece that fits the frame without stretching or damaging the material. If it is delicate or valuable, use a suitable archival mounting method rather than gluing it directly to the backing.
For a cleaner appearance, leave some space between the textile and the frame edges. A simple frame helps the fabric remain the main focus.
Best for: Bedrooms, dressing areas, hallways, and reading corners.
Trade off: Glass fronted frames can add weight, and direct sunlight may fade fabric over time. Use a suitable hanging system and keep valuable textiles away from prolonged strong sunlight.
Make a DIY Mirror Frame
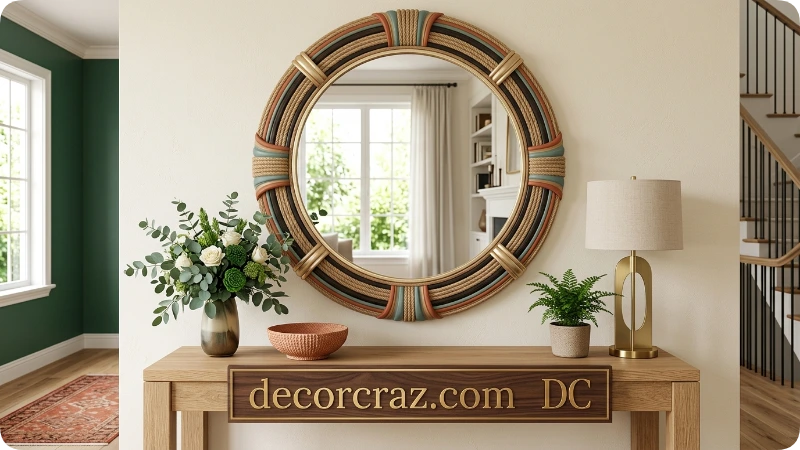
A plain mirror can become a decorative focal point with a handmade frame. Rope, painted trim, or lightweight decorative edging can change its appearance without replacing the entire piece.
For a natural look, wrap rope around an existing sturdy frame and secure it with an adhesive appropriate for the materials. For a modern style, paint the frame in a color that contrasts with the wall.
Where it works: Entryways, dressing corners, and narrow rooms that would benefit from reflected light.
The frame should complement the mirror’s shape rather than overwhelm it. A thick border around a small mirror can make the piece feel bulky, while a restrained frame keeps attention on the reflective surface.
Safety first: Mirrors are heavier and more fragile than paper art. Use a mounting system rated for the complete mirror, including the added frame. Do not rely on ordinary craft glue or lightweight decorative tape to support a heavy mirror.
Build a Picture Ledge Display
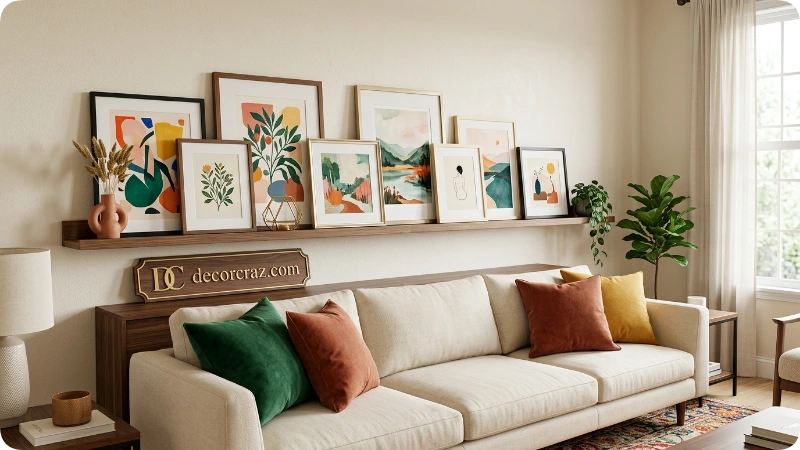
A picture ledge lets you change your artwork without creating a new arrangement of wall holes every time. You can layer frames of different sizes, rotate seasonal prints, or display small pieces collected over time.
Choose a ledge long enough to relate visually to the furniture below it. Lean larger frames at the back and smaller ones in front, keeping important parts of each image visible.
A small decorative object can break up the rectangular shapes, but leave enough space for the artwork to remain readable.
Best for: Living rooms, offices, and bedrooms where you like changing displays.
When to choose another option: A fixed ledge requires secure installation and is not always suitable for renters. If drilling is not allowed, try a freestanding shelf or a narrow console table positioned against the wall. Keep objects stable and avoid placing heavy or breakable items where they could fall.
Try a Removable Accent Shape or Peel and Stick Design
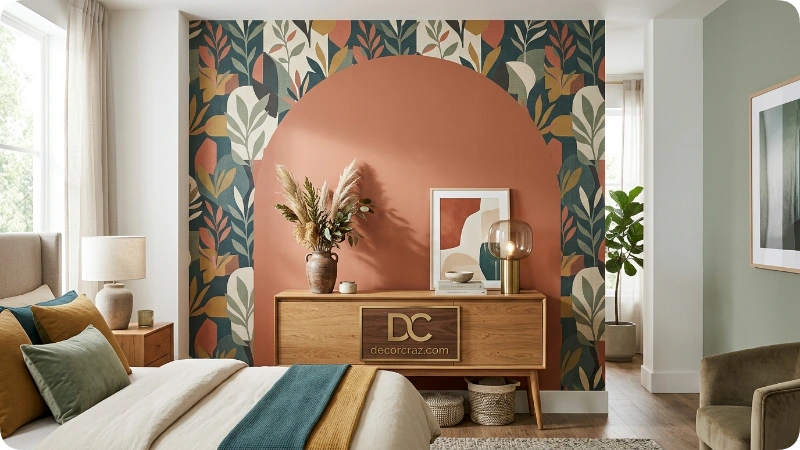
If you want the effect of an accent wall without repainting the whole room, consider a large geometric shape, removable mural, or peel and stick wallpaper.
A painted arch can visually frame a bed or console, while a removable patterned panel can introduce detail behind a desk. The right choice depends on if you can alter the existing paint and how much of the wall you want to cover.
For renters, reversible options are worth considering, but no adhesive product is guaranteed to remove cleanly from every surface. Wall texture, paint condition, product quality, and installation all affect the outcome. Test a hidden area before committing to a large section.
Choose based on commitment:
- Lowest commitment: Hang framed prints or a fabric panel without modifying the wall.
- Moderate commitment: Apply a small removable decal or wallpaper sample after testing.
- Permanent change: Paint a shape or install a wood feature only when you have permission and the right tools.
Wood slats and other built in treatments can make a stronger architectural statement, but they require more planning, materials, and secure installation than decorative art. Treat them as a separate renovation project rather than a quick craft.
How to Choose the Right DIY Wall Decor
The best project is the one that solves your wall’s actual problem. Before buying supplies, compare the available options.
| Your situation | A suitable starting point | Main consideration |
| Very limited budget | Paper art or a reused frame | Use materials you already own |
| Large empty wall | Gallery wall or woven display | Make the arrangement large enough to relate to the furniture |
| Small room | Vertical textile or a compact mirror | Avoid crowding limited wall space |
| Rental apartment | Leaning art or lightweight removable decor | Check lease rules and test the wall finish |
| Beginner DIYer | Abstract canvas or geometric paper art | Start with a small, manageable design |
| Need to change decor often | Picture ledge or freestanding display | Keep the arrangement easy to update |
| Want a permanent architectural change | Painted accent or wood slats | Plan installation, cost, and wall preparation |
Match the Artwork to the Furniture

Decorative pieces usually look more intentional when they relate to the furniture below them. As a starting guideline, a grouping above a sofa or console can span roughly two thirds of the furniture’s width. Adjust that proportion for unusually large furniture, narrow walls, or an intentionally asymmetrical layout.
The aim is to create a visual connection between the wall and the room, not to fill every available inch.
Test the Layout Before Hanging
Cut paper templates in the same sizes as your intended frames or decorations. Arrange them on the wall with a temporary method suitable for the paint finish, then view the composition from the doorway and the main seating area.
This simple preview helps you spot spacing problems before making holes or applying adhesive.
Keep the Project Within Your Real Budget
The cost of a DIY project includes more than its main material. Frames, paint, hanging hardware, replacement supplies, and tools can add up.
Before starting, decide what you can reuse and which materials are worth purchasing. A simple handmade piece that fits the room is often a better choice than a complicated project that requires many supplies and remains unfinished.
Common DIY Wall Decor Mistakes to Avoid
- Making the display too small: A tiny arrangement can look disconnected on a large wall. Consider the wall and furniture together before choosing the scale.
- Mixing too many unrelated colors: Repeat a few colors to create a visual connection between different pieces.
- Ignoring the wall finish: Adhesives and removable wallpaper can damage weak or delicate paint. Test first.
- Choosing decor that is difficult to maintain: Dust catching materials and fragile objects may not suit busy rooms.
- Hanging heavy items with unsuitable hardware: Check the item’s weight and use a mounting system appropriate for both the object and the wall.
- Starting with a project that is too complicated: Try a smaller version before investing in tools or materials for a permanent installation.
Frequently Asked Questions
What is the easiest DIY wall decor for beginners?
Abstract canvas art, framed paper designs, and simple fabric hangings are good starting points. They require relatively few materials and let you experiment with color and placement before attempting a larger project.
How can I decorate walls in a rental without drilling?
Consider freestanding displays, leaning artwork, or lightweight decorations with a mounting method approved for your wall surface. Check your lease and test removable products before using them across a large area. Even products marketed as damage free can affect some paint finishes.
How do I decorate a large blank wall on a small budget?
Create one coordinated display using reused frames, handmade art, paper designs, or secondhand decorative pieces. Planning the arrangement before purchasing supplies helps prevent unnecessary spending.
Can DIY wall decor work in a small room?
Yes. Choose a few pieces that suit the wall’s proportions rather than filling every available space. Vertical artwork, a well placed mirror, or a compact textile display can add interest without taking up floor space.
How do I make handmade wall art look intentional?
Use a clear focal point, repeat a few colors or shapes, and consider the spacing between pieces. Preview the arrangement before hanging it, and choose a scale that relates to nearby furniture.
Conclusion
DIY wall decor ideas are a simple and affordable way to transform blank walls into beautiful, personalized spaces. From handmade abstract art and photo gallery walls to fabric hangings, woven baskets, and creative geometric designs, there are plenty of options to match your style, budget, and experience level.
You do not need expensive materials or professional skills to create wall decorations that make your home feel more personal. Start by choosing a project that suits your available space and the condition of your walls. Consider colors, textures, furniture placement, and the overall look you want to achieve before gathering your supplies.
If you live in a rental, focus on removable or freestanding decorations that minimize wall damage. With a little creativity and thoughtful planning, you can turn an ordinary wall into an attractive focal point that reflects your personality.

I am Claudia Winkle, a passionate Name Researcher and Content Writer at decorcraz.com. I enjoy exploring the meanings, origins, history, and cultural significance behind names from around the world. Through carefully researched and engaging articles, I help readers discover unique names, understand their stories, and find meaningful naming inspiration for every occasion. My goal is to make name research simple, interesting, and useful for readers looking for the perfect name.